Emergency Cuts

Imagine this: you are making your last cut for a commissioned artwork. You’ve been straining your neck for the past 2 hours. Finally, you hold the paper with both hands, raise it to eye level, and admire your hard work for a few seconds. You’re about to give yourself a pat on the back when… Bam! You realize you’re missing an entire line of three words. You’re world crumbles (exaggeration) and you swear to yourself that you did double-check everything when you made the draft. Or so you think.

How in the world of Van Gogh did that happen? You must have been singing along mindlessly to a favorite song. You could have also been enjoying (more than a normal person should) the flawless feel of your prized stone paper against your fingertips. Or maybe, your hands are just faster than your brain at the moment. There could be a thousand reasons for all we know. Never mind the how’s. This calls for an emergency. 

Here are some tips that you can follow when trying to save a “wounded” papercut art:

1. Look at the artwork as a whole. Does the mistake visibly pop out? If it would take a microscope and an overly obsessive compulsive person like you to see it, let it go. Remedying it may just compromise the entire project and you will just waste the hours you’ve spent on the whole thing. Of course, if it’s text that you’re missing, then that’s a different story. In that case, read #3.

2. If you can, try to look for the papercut debris of the part you were making. You must have cut more than you should, and that bit of paper can be attached using an invisible glue or a clear double-sided tape. Emphasis on invisible and clear. A glue stain and peeking tape will just put more attention to the damaged area. 

3. When you miss a word or phrase (try not to do this one!), don’t scrap everything yet. You may still salvage your artwork (but you will only realize this after a few minutes of cursing at yourself). 


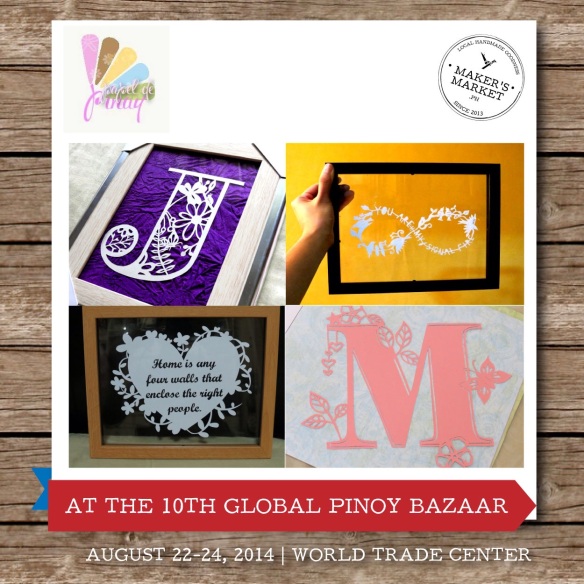
 In the image above, I missed the phrase you’ll know it. It was a good thing that there was a line connecting the phrases. I removed everything below that line, recreated it, measured the remaining space, and figured how to fit the rest of the sentence in that space. Finally, I secured it in place with double-sided tape. If you look hard enough, you’ll see (the goal is that you won’t) that the diagonal line holding the additional phrase is on top of the old line.  

For the papercut project below, instead of missing a word, I duplicated the word be. This was easier to fix as it’s as simple as cutting out the extra word. The result was a gap between always and be. It bothered me for a bit, but I was told that It looked like it was deliberately done, so I let it go.   

No matter how good you are or how long you’ve been crafting, making a mistake will always be inevitable. When you do, try not to be too hard on yourself. Mistakes are there anyway to be corrected and learned from. 

Maker’s Market at Estancia

A little over a month ago, Papel de Pinay joined yet another Maker’s Market — this time, for a two-day stint at the newly built Estancia Mall in Capitol Commons. For some of you who may not have heard of this event before, Maker’s Market is a seasonal event held by the fine people of Craft MNL. Crafters, makers, artists, and what-have-you’s gather in one event selling stuff from yarns, paints, cutters and sculpture materials, handmade soaps, paper quilled accessories and cards, handpainted paper mache forms, to handstitched leather goods and prints to name a few. It was my second time to join such an event, and being someone who have enjoyed her first Maker’s Market last year,  I decided to sell my handmade products for 2 days — the last weekend of June.

IMG_0527

IMG_0502IMG_0528

It was a fun two days. While I enjoyed entertaining inquiries from buyers, and even passers-by, I also loved the feeling of being surrounded by other makers, such as BioArt.ph, Frou Frou Crafts, Sqooid, Craft Carrot, Sketchnotes, Dagatbeads, and like, 40 others (yes, FORTY). It was the biggest Maker’s Market to date, and I’m so thankful to have been a part of it. Looking forward to the next one! 🙂

IMG_0525

The first item to go!

IMG_0520

The cutest kid came up to my booth, and asked her dad to buy this for her. ❤

IMG_0553 IMG_0513

IMG_0474

Gogh-ing… Gogh-ing… Gone!

IMG_0539
IMG_0594 IMG_0519

In the Sun

February! Whew, the first month of 2015 flew by so fast, I haven’t had time to write a proper entry for my blog. Well, to be honest, I did not really do a lot of crafting last month. I wanted to give myself time to recuperate from the busy months of November and December. Now, don’t you rejoice yet, coz I’m back! With my unwitty remarks and geeky crafting moments. 😝

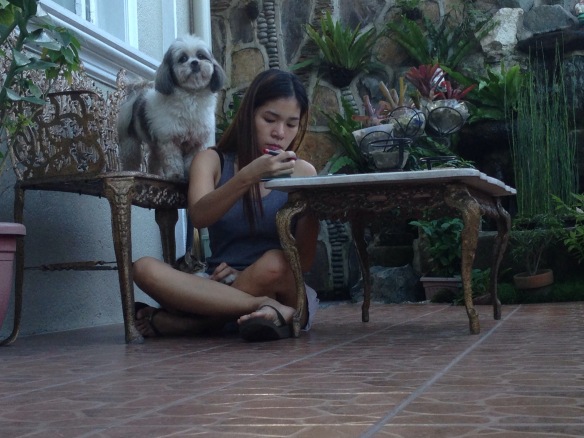
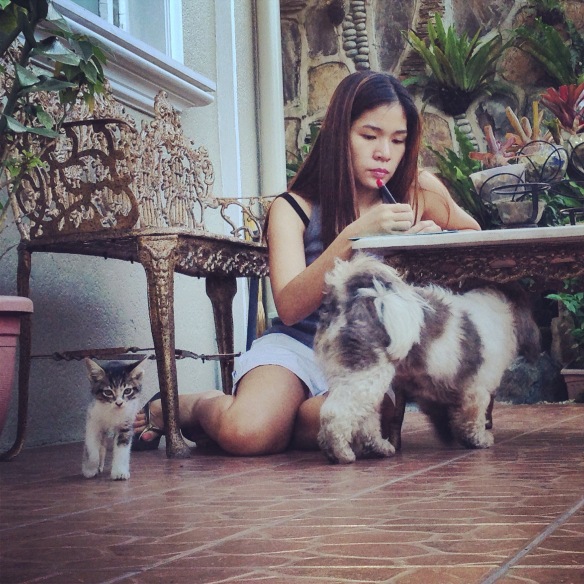
I had some free afternoon one Saturday last month. The weather was cool and the sun cast the perfect lighting, so I went to the beach and surfed. Not. I’m way cooler than that so I brought out my crafting tools in the garden. 😊

IMG_8845

IMG_8847

Of course, I had to be surrounded by my pets! I thought they can learn a trick or two in cutting paper.

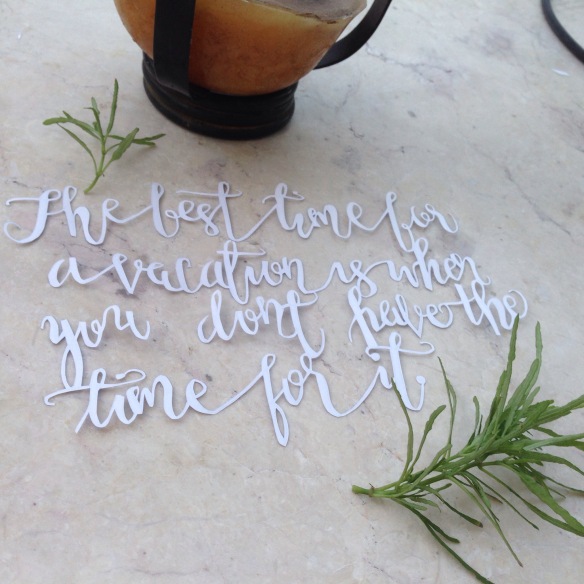
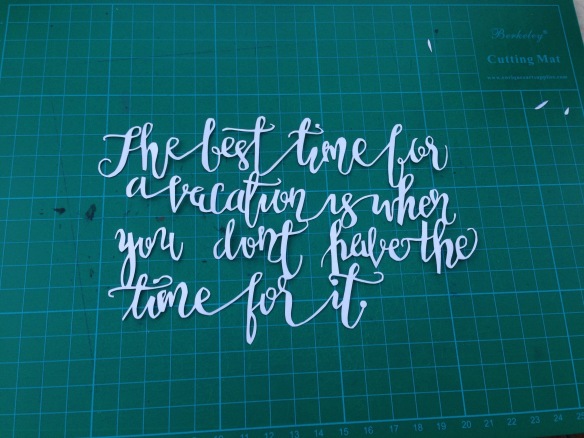
Now, the project. I wanted something new for my office desk so I made a quote about, er, vacations. I know, I know. Vacation already?! Haha! But I thought this would keep me motivated (sane?) during moments of stress and save my hair from being pulled out a lot.

I first wrote the text in freehand calligraphy on tracing paper. Then, I traced the wrong side of the image on to white paper to create a mirror image. And then, I cut them with my trusty craft knife.

This came out:

IMG_8859

IMG_8849

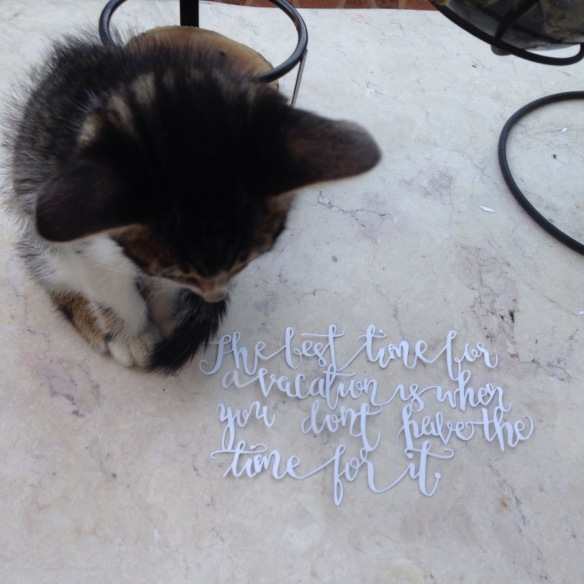
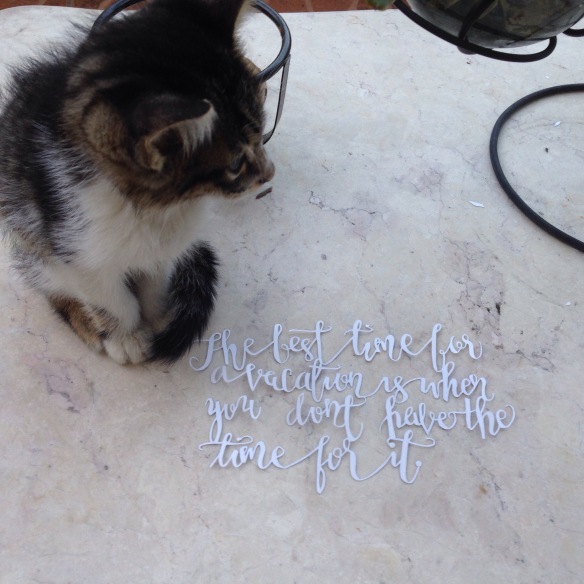
Charlie was the perfect border: 😜

IMG_8853

IMG_8852

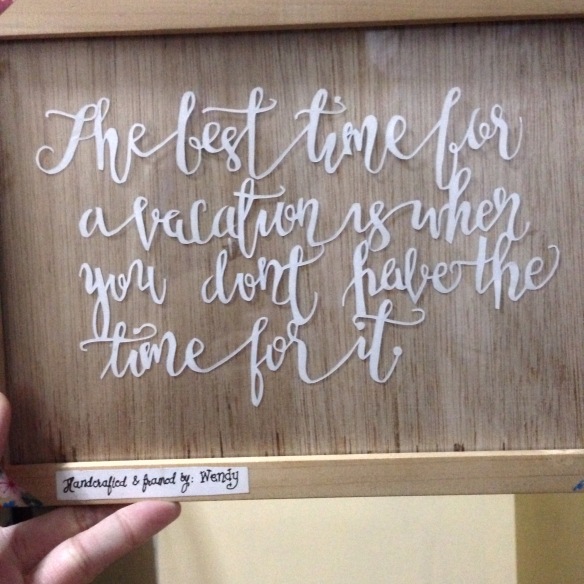
This is now on display at my workstation:

IMG_8883

What do you think of the quote? Agree?

Watch this video while you think about it. Cheers! 😉

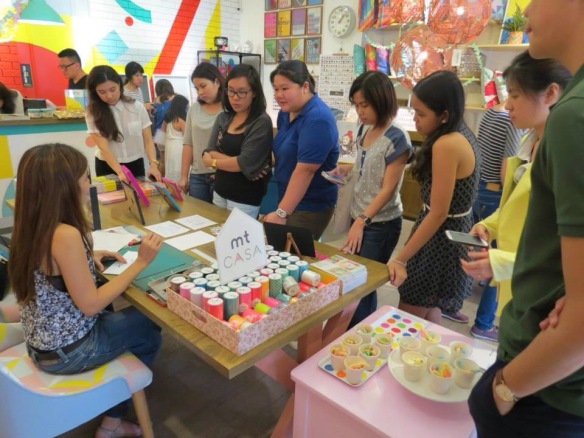
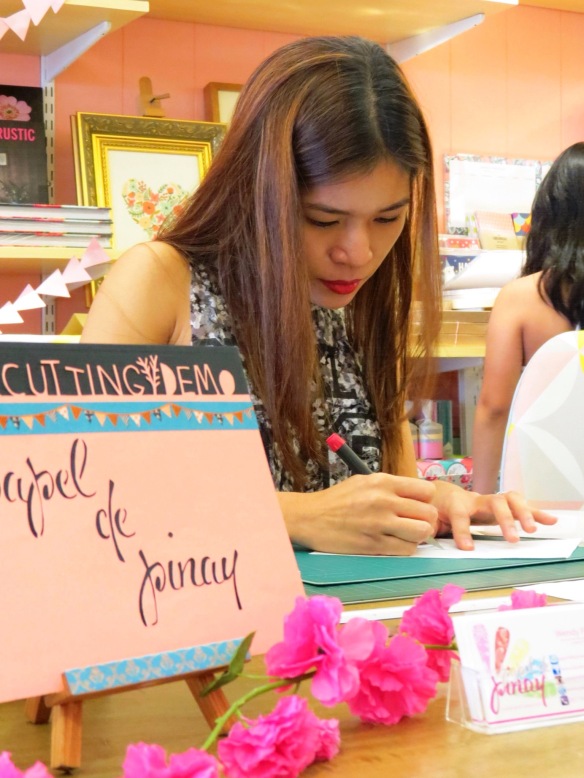
Papercutting Demo at Heima – Photos and Video

My stint at Heima’s Paper Stories was a lot of fun! I didn’t know doing a demo can be so refreshing. It was great to meet new people and fellow crafters. I’ve posted an album of the photos from the event on my Facebook page.

IMG_8157.JPG

IMG_8156.JPG

IMG_8152.JPG

And… There’s a video! Special shoutout to my friend Rai for putting a lot of time and effort in making this video (and for taking awesome photos, too!). Yay!

Papel de Pinay x Paper Stories

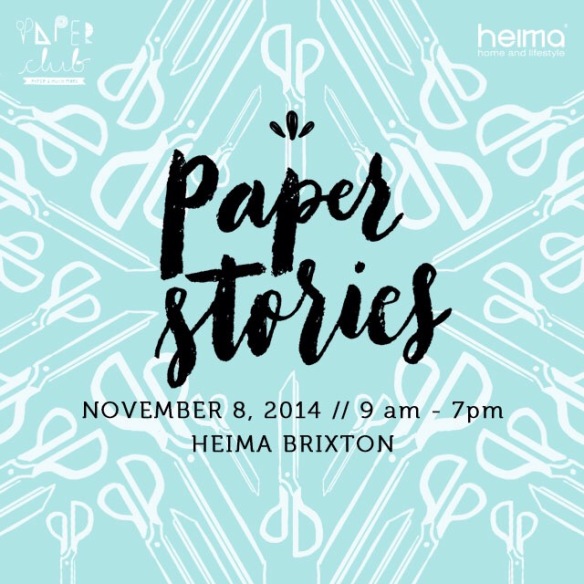
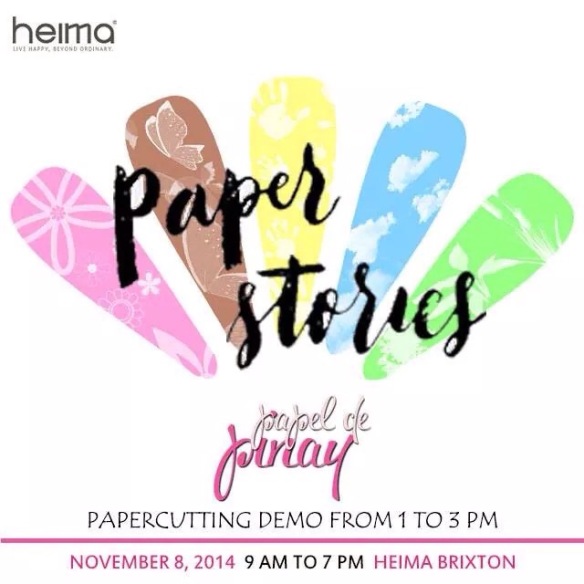
I will be conducting a demo on papercutting at Paper Club’s Paper Stories event/ bazaar on Saturday, November 8 at Heima Store in Kapitolyo, Pasig.

IMG_8106.JPG

The demo will run from 1pm to 3pm; I will also be selling my stuff during this time. The bazaar, though, will be open to the public from 9am to 7pm. The best news: admission is free! 🙂
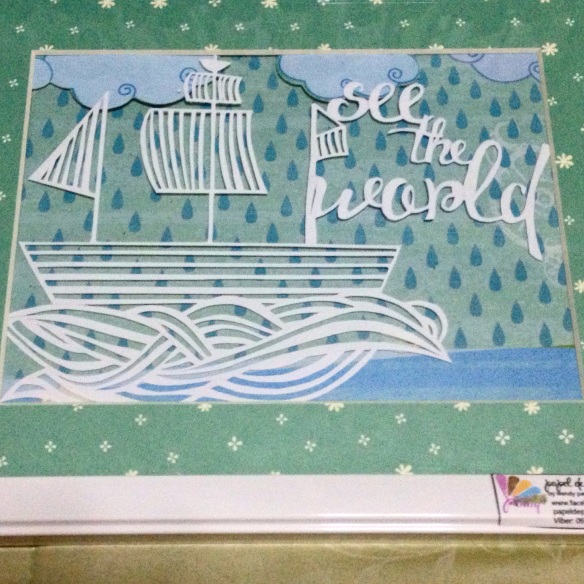
See you there!

IMG_8104-0.JPG

Papel de Pinay at the Maker’s Market – August 2014

This post is embarrassingly late — 7 weeks late, to be exact. I did say I was going to post about the bazaar, so as late as it may be now, here it is (yay!).
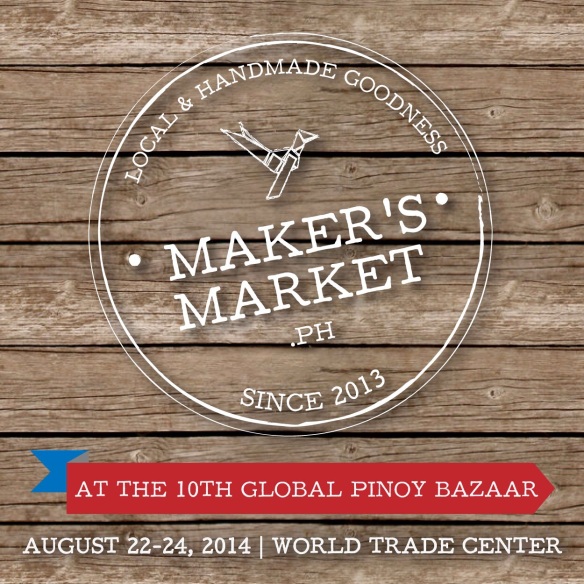
Sometime in July this year (exactly a year after I participated in a papercutting workshop), I learned about the Maker’s Market for an upcoming bazaar. Craft MNL, a community of crafters I follow on Facebook and Instagram, were looking for independent local crafters who would like to sell their locally made products for Global Pinoy Bazaar, to be held on August 22 to 24, 2014. I have always dreamt of joining one, or just being able to sell my stuff commercially. Then I stumbled upon the event’s application form, and thought, “Hey, why not?”. Basically, I just had to submit an application on-line, tell them about my product/craft, and wait if I get accepted. Yabang Pinoy, the organizer of the bazaar, is pretty particular about selling only locally sourced products, so they had to screen each application. Luckily, I got accepted! After settling the fee and requirements, off I went with the planning.

The Planning. Thank God for friends with a bazaar background. I literally had a very detailed checklist handed to me by a friend weeks before the event, so that was very helpful. What gave me anxiety attacks were the artworks that I was going to sell. I only had two weekends to prepare and I just had a handful of ready-made paper cuts on hand, which meant I had to make pieces at about every single free time I had (I think I have mentioned in my previous posts that I have a full-time job). It wasn’t easy, but I’m glad I managed to make enough pieces.

10th global

Photo courtesy of Craft MNL

makers sign

Photo courtesy of Craft MNL

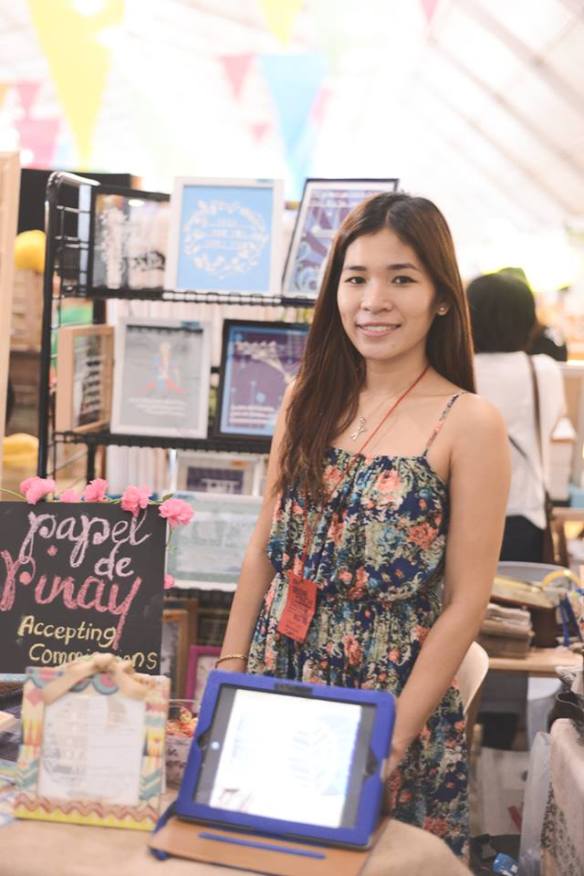
The Big Day. I only signed up for one day. Unlike the other concessionaires who had been there for the ingress and whose booths have already been set up the day before, I only had an hour to set everything up. Of course I had to keep my cool and act like I was already Queen of Bazaar Set-Ups (LOL, I’m just kidding. I was like a lost puppy. Thank goodness I had with me my Dad and cousin to give a helping hand). An hour later, everything was good to go.

Would you believe a kid came up to me to ask how much the crayons are? Cute kid!

Would you believe a kid came up to me to ask how much the crayons are? Cute kid!

setup1

The bazaar was from 11 a.m. to 9 p.m. The booth space was cramped so I had to sit (but most of the time, stand) a couple of feet from across the booth and just come up when there are interested buyers. I didn’t feel tired at all. Maybe because I was so excited and all geared up for that day. The sales weren’t that spectacular, but that wasn’t really my main concern when I signed up for the bazaar. I wanted to test the waters, get maybe a little recognition, and start from there. I thought of it as an investment. And invest, I did. I had no calling cards left even before the bazaar ended and got lots of inquiries afterwards. I even got contacted by a magazine editor to have my artwork featured (that’ll be on my next post ;))! Eventually, most of the leftover pieces from the bazaar have been sold online, too.

All in all, it was a fun event. I’m lucky to have friends and family who supported me with my very first bazaar. Hopefully, this won’t be the last! 🙂

With my cousin, Kendee, who helped me set up and man the booth. ;)

With my cousin, Kendee, who helped me set up and man the booth. 😉

Photo courtesy of Craft MNL.

Photo courtesy of Craft MNL.

With Mansy Abesamis (my mentor!) of Hey Kessy.

With Mansy Abesamis (my mentor!) of Hey Kessy.

care of

Photo courtesy of Craft MNL

Le Petit Prince

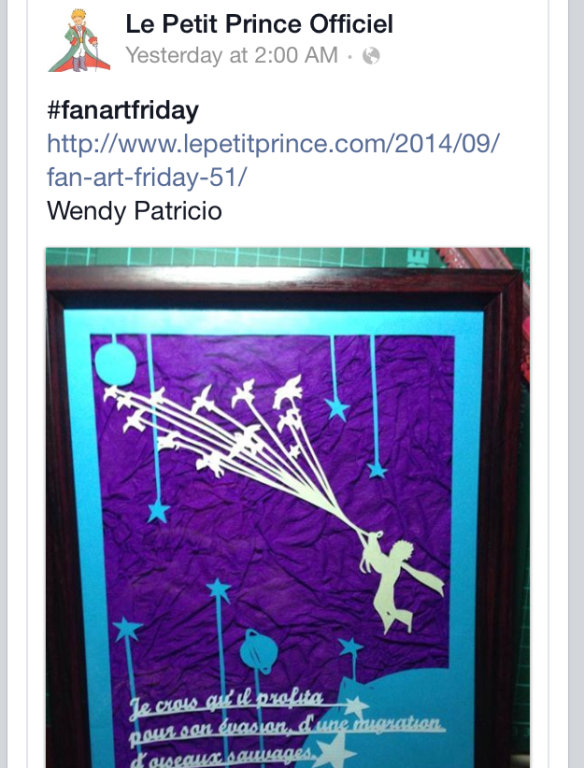
A couple of weeks ago, a friend suggested that I submit an entry to Le Petit Prince website’s Fan Art Friday. It’s basically a collection of fanmade artworks inspired by, well, The Little Prince. I thought, “Hey, why not?”. Nothing to lose with trying; so I submitted one of my works through their Facebook page.

A week later — I kind of forgot about it, actually — another friend, subscribed to LPP Officiel’s fanpage, tagged me in a post. My entry was chosen! Ah, it was incredible! I couldn’t believe it. 🙂

IMG_7688.PNG

You can visit the actual website with my artwork here.

There you go — my little moment of “on-line fame”, LOL! So to that special friend who pushed me to do this, thank YOU. You know who you are 🙂