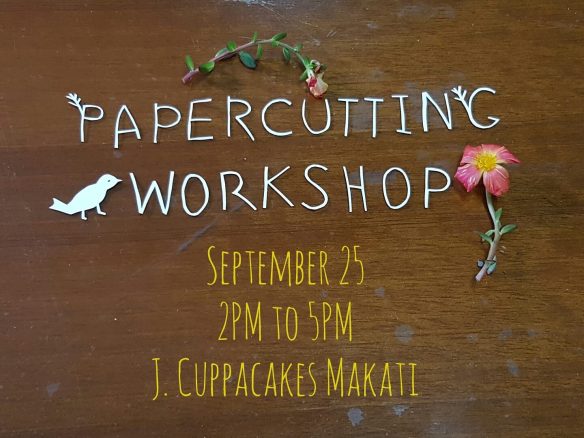
Papercutting Workshop in Makati

You can now register by going to my Upcoming Workshops page. 10 to 15 slots only.

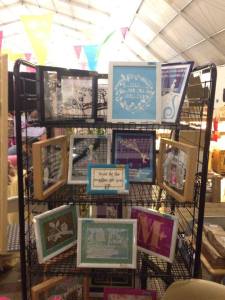
In this workshop, you will get to learn the basics of papercutting and some helpful tips and tricks. You will also get to take home a Papercutting Starter Kit, special paper for papercutting, and enjoy sumptuous treats from J.cuppacakes.

Register now! 🙂

13996263_476532845805418_7472764181967393158_o.jpg

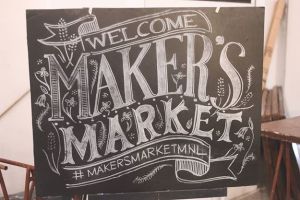
HGTV x Maker’s Market

I’m super happy & ecstatic to be a part of the first ever Maker’s Market at Alabang Town Center this coming April 3rd. This will be a collab between Craft MNL & Home & Garden TV, too. See you, folks from the South (and non-South — we don’t discriminate), next week! 😉   

Papercut + Watercolor

Happy Holidays!

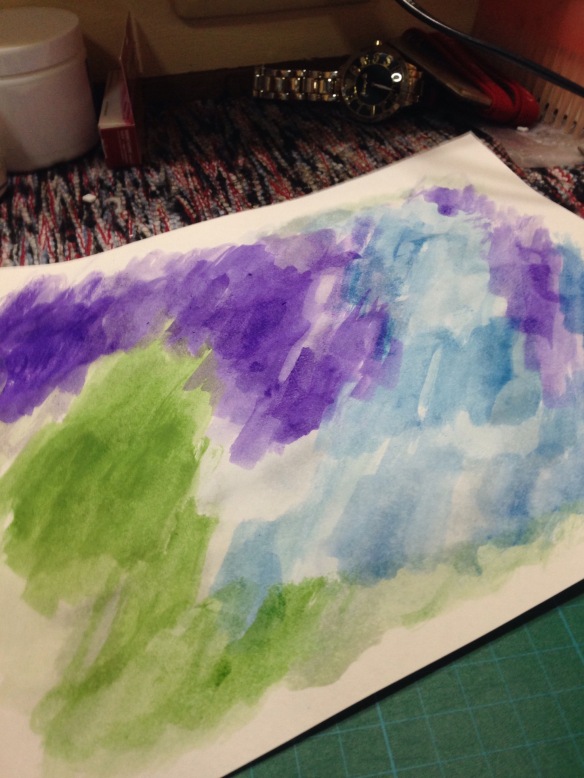
I had some down time during Christmas break (by down time, I mean one free afternoon) so I finally had the chance to bring out my first ever watercolor paint set I bought a few weeks ago. I have zero training on painting, so please be nice. 🙂

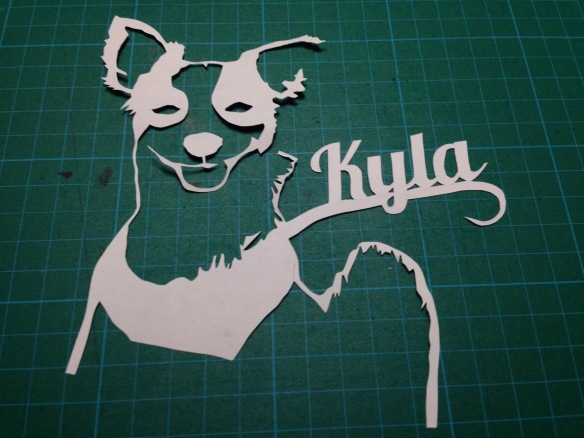
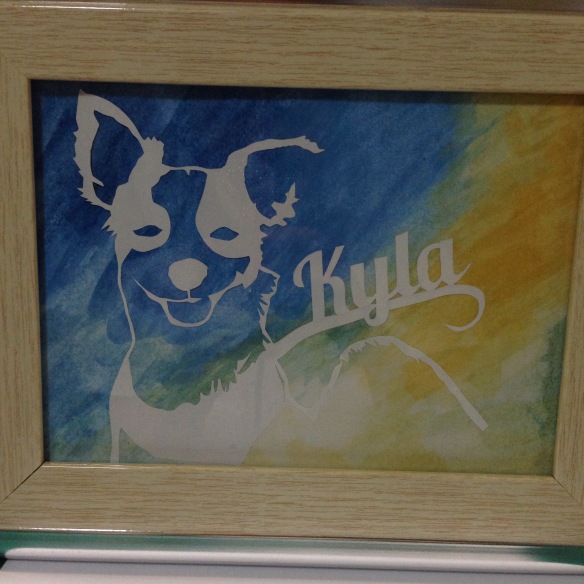
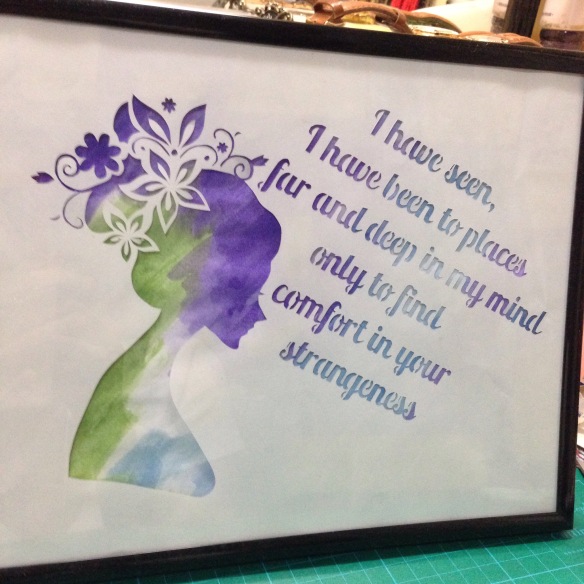
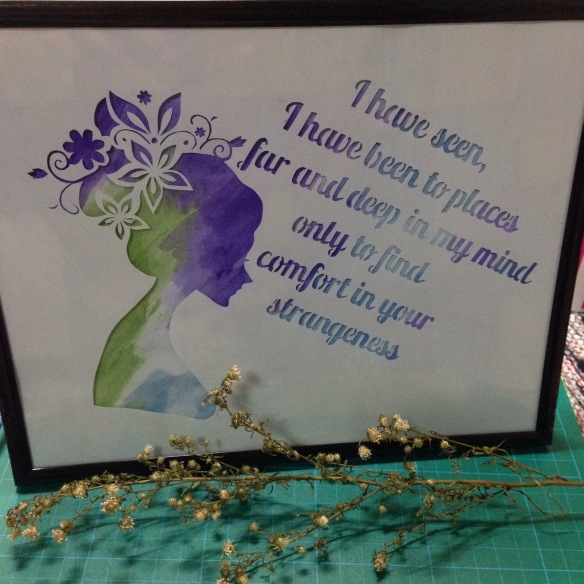
Anyway… These are my latest papercuts, with watercolor-painted back material.

/home/wpcom/public_html/wp-content/blogs.dir/8d4/56608487/files/2014/12/img_8737.jpg

/home/wpcom/public_html/wp-content/blogs.dir/8d4/56608487/files/2014/12/img_8741.jpg

/home/wpcom/public_html/wp-content/blogs.dir/8d4/56608487/files/2014/12/img_8742.jpg

/home/wpcom/public_html/wp-content/blogs.dir/8d4/56608487/files/2014/12/img_8739.jpg

/home/wpcom/public_html/wp-content/blogs.dir/8d4/56608487/files/2014/12/img_8752.jpg

/home/wpcom/public_html/wp-content/blogs.dir/8d4/56608487/files/2014/12/img_8758-0.jpg

They’re not so bad, right (I hope)?
I badly need/ want to attend a workshop on Watercolor Painting, though. That’s definitely on my list of to-do’s for 2015. This year has been a year of firsts. I had a blast. Here’s wishing 2015 would be an even better one.

Cheers, everyone! 🙂

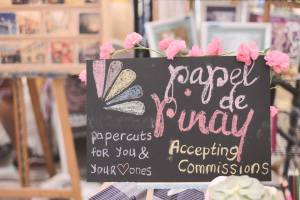
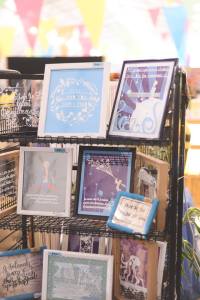
Papel de Pinay at the Maker’s Market – August 2014

This post is embarrassingly late — 7 weeks late, to be exact. I did say I was going to post about the bazaar, so as late as it may be now, here it is (yay!).

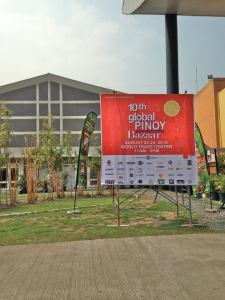
Sometime in July this year (exactly a year after I participated in a papercutting workshop), I learned about the Maker’s Market for an upcoming bazaar. Craft MNL, a community of crafters I follow on Facebook and Instagram, were looking for independent local crafters who would like to sell their locally made products for Global Pinoy Bazaar, to be held on August 22 to 24, 2014. I have always dreamt of joining one, or just being able to sell my stuff commercially. Then I stumbled upon the event’s application form, and thought, “Hey, why not?”. Basically, I just had to submit an application on-line, tell them about my product/craft, and wait if I get accepted. Yabang Pinoy, the organizer of the bazaar, is pretty particular about selling only locally sourced products, so they had to screen each application. Luckily, I got accepted! After settling the fee and requirements, off I went with the planning.

The Planning. Thank God for friends with a bazaar background. I literally had a very detailed checklist handed to me by a friend weeks before the event, so that was very helpful. What gave me anxiety attacks were the artworks that I was going to sell. I only had two weekends to prepare and I just had a handful of ready-made paper cuts on hand, which meant I had to make pieces at about every single free time I had (I think I have mentioned in my previous posts that I have a full-time job). It wasn’t easy, but I’m glad I managed to make enough pieces.

10th global

Photo courtesy of Craft MNL

makers sign

Photo courtesy of Craft MNL

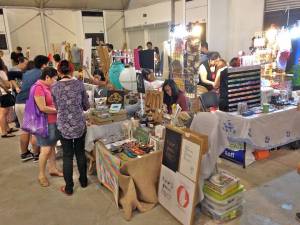
The Big Day. I only signed up for one day. Unlike the other concessionaires who had been there for the ingress and whose booths have already been set up the day before, I only had an hour to set everything up. Of course I had to keep my cool and act like I was already Queen of Bazaar Set-Ups (LOL, I’m just kidding. I was like a lost puppy. Thank goodness I had with me my Dad and cousin to give a helping hand). An hour later, everything was good to go.

Would you believe a kid came up to me to ask how much the crayons are? Cute kid!

Would you believe a kid came up to me to ask how much the crayons are? Cute kid!

setup1

The bazaar was from 11 a.m. to 9 p.m. The booth space was cramped so I had to sit (but most of the time, stand) a couple of feet from across the booth and just come up when there are interested buyers. I didn’t feel tired at all. Maybe because I was so excited and all geared up for that day. The sales weren’t that spectacular, but that wasn’t really my main concern when I signed up for the bazaar. I wanted to test the waters, get maybe a little recognition, and start from there. I thought of it as an investment. And invest, I did. I had no calling cards left even before the bazaar ended and got lots of inquiries afterwards. I even got contacted by a magazine editor to have my artwork featured (that’ll be on my next post ;))! Eventually, most of the leftover pieces from the bazaar have been sold online, too.

All in all, it was a fun event. I’m lucky to have friends and family who supported me with my very first bazaar. Hopefully, this won’t be the last! 🙂

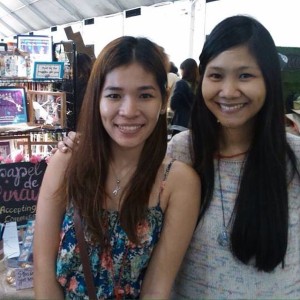
With my cousin, Kendee, who helped me set up and man the booth. ;)

With my cousin, Kendee, who helped me set up and man the booth. 😉

Photo courtesy of Craft MNL.

Photo courtesy of Craft MNL.

With Mansy Abesamis (my mentor!) of Hey Kessy.

With Mansy Abesamis (my mentor!) of Hey Kessy.

care of

Photo courtesy of Craft MNL

Le Petit Prince

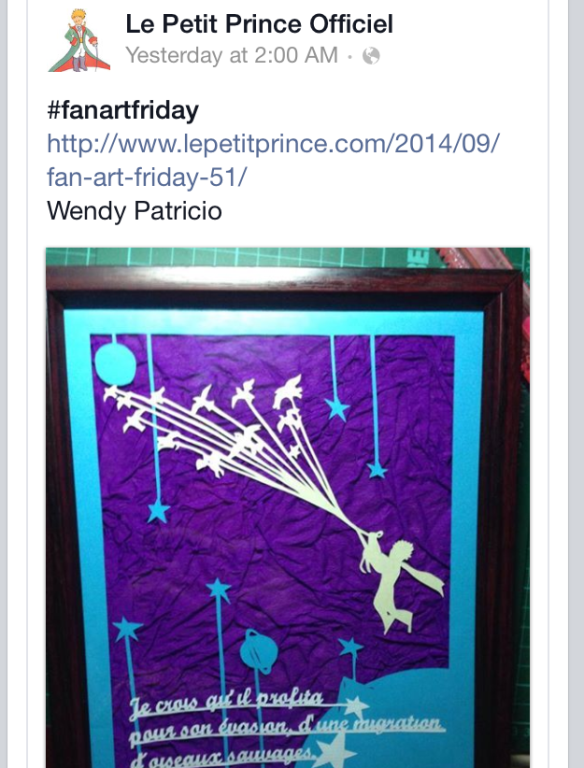
A couple of weeks ago, a friend suggested that I submit an entry to Le Petit Prince website’s Fan Art Friday. It’s basically a collection of fanmade artworks inspired by, well, The Little Prince. I thought, “Hey, why not?”. Nothing to lose with trying; so I submitted one of my works through their Facebook page.

A week later — I kind of forgot about it, actually — another friend, subscribed to LPP Officiel’s fanpage, tagged me in a post. My entry was chosen! Ah, it was incredible! I couldn’t believe it. 🙂

IMG_7688.PNG

You can visit the actual website with my artwork here.

There you go — my little moment of “on-line fame”, LOL! So to that special friend who pushed me to do this, thank YOU. You know who you are 🙂

Wedding Papercut Present

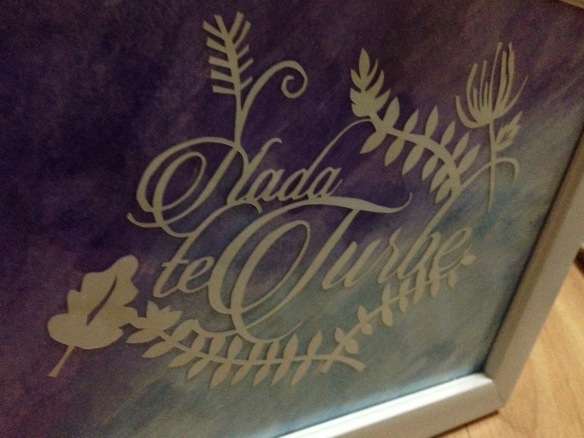
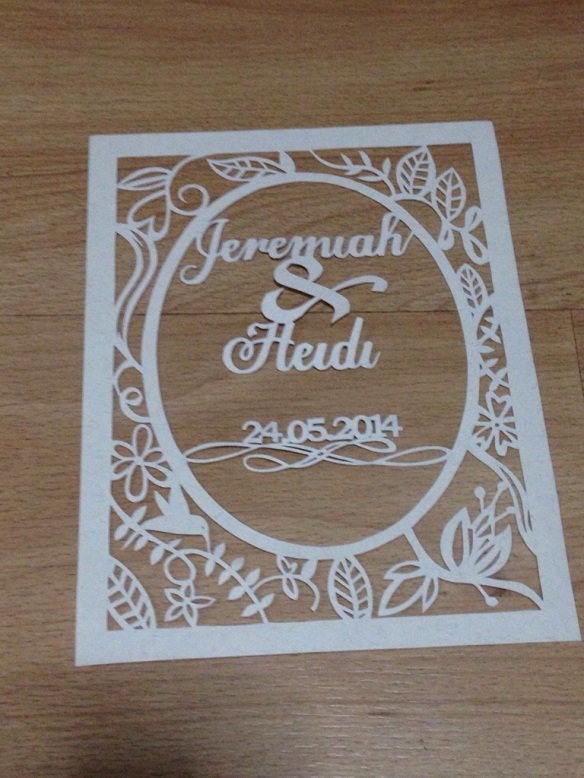
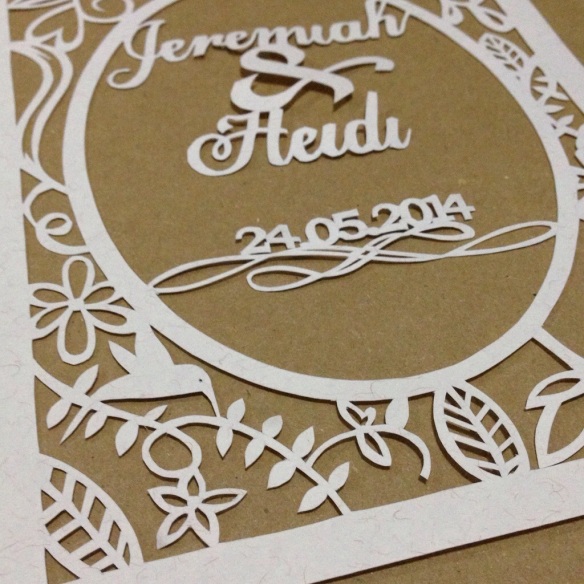
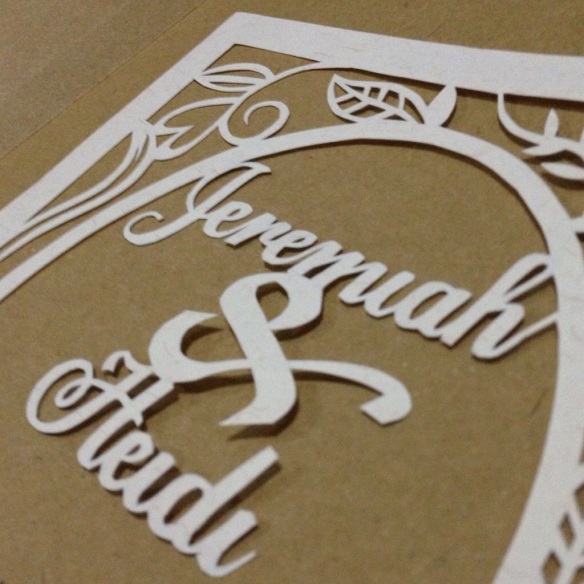
I was recently commissioned to make a papercut by my aunt as a wedding present for my cousin and his soon-to-be wife who are both based in the US. I barely know them as a couple so I opted to do a theme that is somewhat safe for wedding papercuts: leaves and flowers.

I wanted to make the names in formal script so I decided to have it digitally printed instead of drawing it by hand. I used my favorite cursive font to cut: Egregio script. It’s flowy and formal, but thick enough for easy cutting. I would’ve loved to use a thinner font, but unfortunately, I ran out of stone paper, and cutting text with thin strokes is only doable (I’m speaking based on my own experience) with good quality paper, i.e. stone paper.

The only parts that are digital are the text and the oval (in mirror image, of course), the rest are handdrawn.

Everything was cut using a single sheet of 8 x 10 in. cream paper and an X-acto blade (yes, I’m back to using X-acto and I must admit, I kinda missed it 🙂 )

20140430-182736.jpg

20140430-182721.jpg

20140430-182707.jpg

Tips and Tricks in Papercutting

I know I’ve only been cutting for a good five months, but in that length of time, I’ve had my share of discoveries and mistakes in papercutting. And while I am still continuously making these (discoveries and mistakes alike), I just thought I could share them with my followers who might be interested in the hobby as well. Here are my ten tips and tricks that will be handy when you get into papercutting:

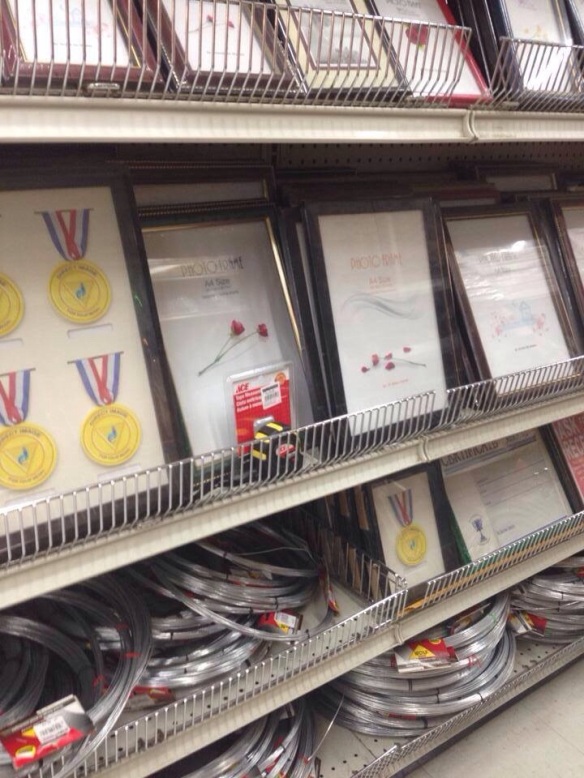
1. Buy your frame beforehand.
20131222-171856.jpg
This first tip might seem odd to some, but this is what I’ve learned in my few months of papercutting. When I first got into the hobby, I was too excited to make papercuts that I made a lot of them in all shapes and odd sizes. By the time I realized I wanted to frame some of my best works, I had a difficult time looking for the perfect frame to fit them in. So yes. If you can, and if you can already picture your finished product, buy the frame first. Frame shops are very limited in Manila. And if you want to have a customized frame, it can really be expensive.

2. Make standard-sized papercuts.

If you would still prefer to choose a frame after making your project, make sure that the length and width of your project are the standards. By “standards”, I mean 8×10, 8.5×11, 8.5×13, 5×7, 6×8, and 4×6 dimensions (all in inches). These are the usual frame sizes that you can find in the mall or a bookstore. Others carry 9×12 and A4 sizes, but these are hard to find. And even if you find frames in an unusual size, chances are the color or design may not go well with your papercut.

3. Dont forget to leave an allowance for borders.

I hate to break this to you but while a 6×8″ frame may fit all of your 6×8″ papercut, not every detail will be seen, specifically the sides. Remember that some frames have wide borders which may cover the outer parts of your project, so take note of this before cutting. 

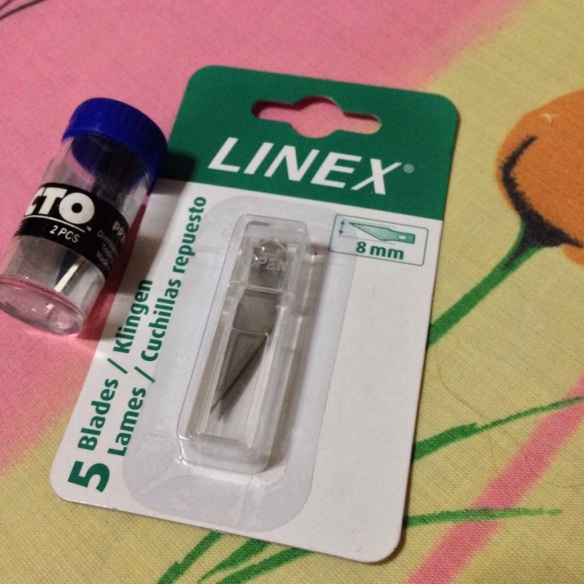
4. Change blades as often as needed.
Dull blades are the worst. They ruin the paper and make your project untidy. So when you feel like your blade is no longer cutting deeply into the paper, it’s time to change. I normally use a minimum of 2 blades per project, depending on the intricacy of the design. So buy spare blades. Lots of them. I hate it when I’d have to put off a project just because l ran out of blades. Trust me, you’d hate it too.
20131222-172057.jpg
5. Cut diagonally.

Avoid pointing your craft knife vertically. There may be designs which are so intricate that you’d point your knife in a close-to-90-degree angle to make sure you cut right through small holes or lines. Don’t. This is the usual culprit for breaking the tip of your blade. When this happens, your blade is just as good as breaking the entire thing altogether.

6. Take a break.

Whenever I’m making a project, I make sure that I take a break from time to time — usually after an hour of cutting. Check your e-mail, drink a cup of coffee, open your facebook, whatever floats your boat. This will give your fingers a chance to rest for a bit and will prevent you from getting backaches after a project.

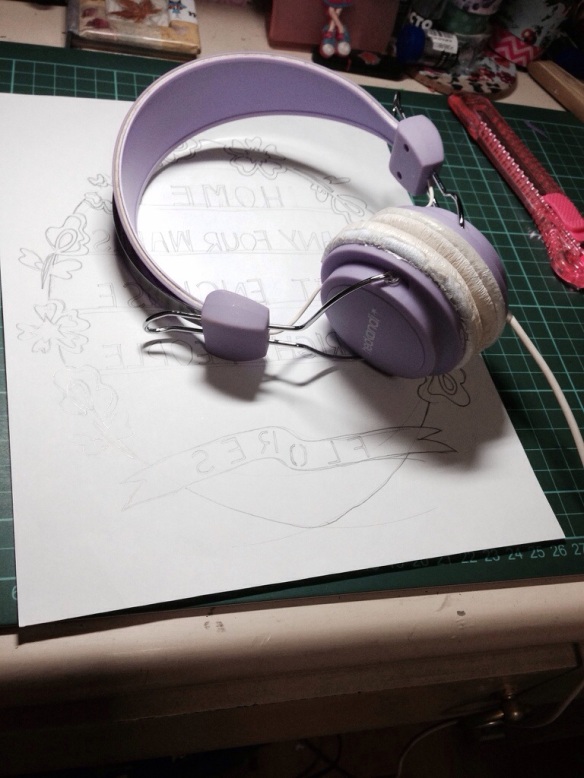
7. Cut to the music!
20131222-172350.jpg
I can’t remember a time not ever listening to music while doing a project. Music – apart from coffee- is my fuel; it just keeps me going. Papercutting goes hand in hand with sound tripping (at least for me) so always be ready with your favorite playlist.

8. Sometimes, a “so-what” attitude helps.

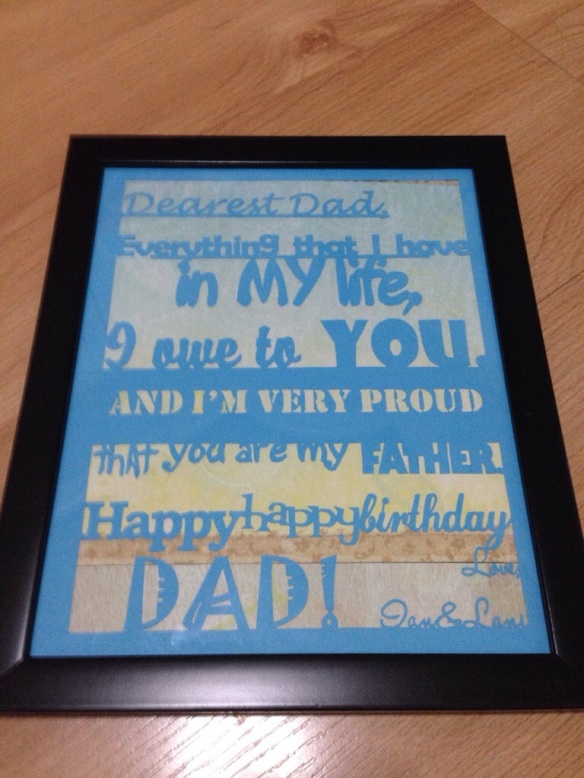
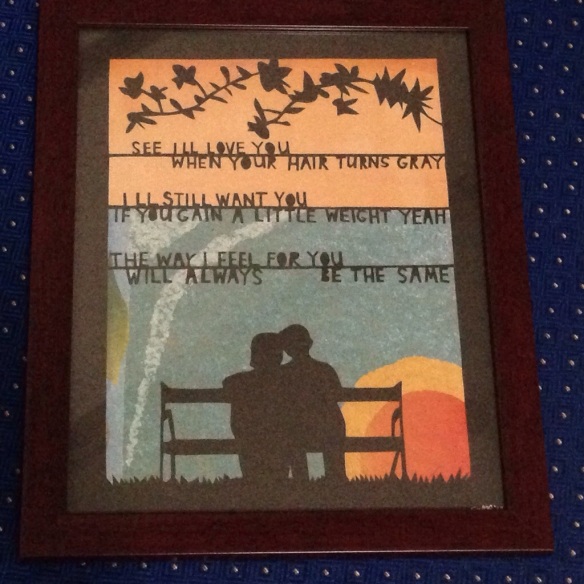
You will, from time-to-time, commit mistakes. You’d accidentally cut a part you shouldn’t, realize you’ve misspelled a word after finishing an entire project, etc. When you do, try to repair the damage if you can. If not, so what? You’re only human. Mistakes, you gotta make them.
20131222-172633.jpg
Notice how there’s a space between “always” and “be” at the last line. That’s because I mistakenly put “the” in between, so that it would’ve looked like “will always the be the same”. I just removed the extra “the” to remedy the error. Fortunately, the space is in the middle of the phrase so it kinda looks intentional.

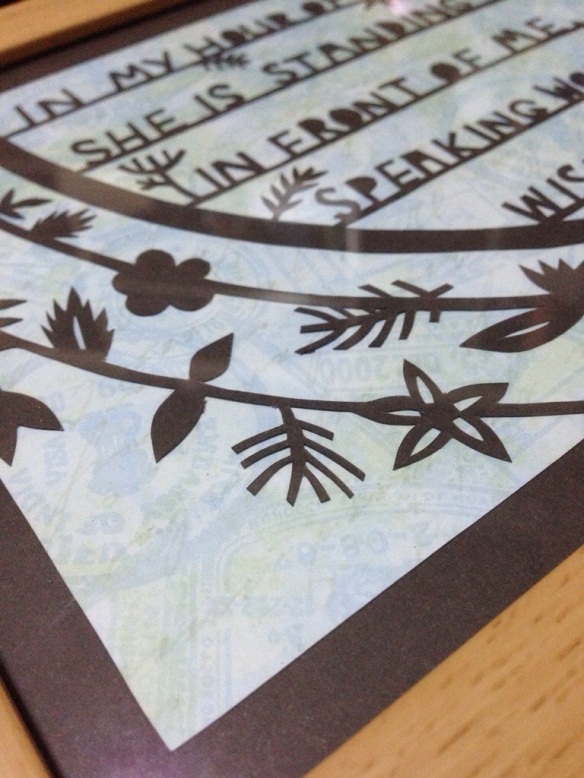
9. Never, ever, pull a loose papercut.

You’ve finished cutting a project and found a part you haven’t cut completely. Whatever you do, do NOT pull! It’s tempting, yes, but doing so might tear the surrounding paper. Stop being lazy and grab your cutting knife so can cut through the loose part completely.
20131222-173113.jpg
10. Take your time.

Don’t be too hard on yourself when doing a project. Instead, take your time and focus on the end product you want in mind. A project doesn’t have to be done in one sitting. Sometimes it can take days, weeks or months to finish a papercut. Remember, papercutting is a hobby. Hobbies are there to be enjoyed. So just relax and enjoy what you’re doing 🙂
20131222-173224.jpg

I could think of more than 10 tips, actually, but these should do for now. I hope you find these 10 tips helpful in your next project.

Of Music and Papercuts

If you’ve been following my blog, you’d probably know by now that some, if not most, of my works are inspired by songs from my favorite artists. (Click here to get a view of what I’m talking about).

Fresh from watching their concert in Manila two nights ago, I remembered I made a papercut a couple months back about One Republic’s first album.

20131108-215939.jpg

I made use of my newly bought stone paper back then, which is very ideal for papercutting. I just wish I could find something with less thickness.

The concert was one for the books. I could rave about how Ryan Tedder and his fellow band members rocked the night away but it’d take you days to finish reading this post. So, I’ll just leave you with a video of one of their songs from their new album, Native.

One Republic – Counting Stars