I know I’ve only been cutting for a good five months, but in that length of time, I’ve had my share of discoveries and mistakes in papercutting. And while I am still continuously making these (discoveries and mistakes alike), I just thought I could share them with my followers who might be interested in the hobby as well. Here are my ten tips and tricks that will be handy when you get into papercutting:
1. Buy your frame beforehand.
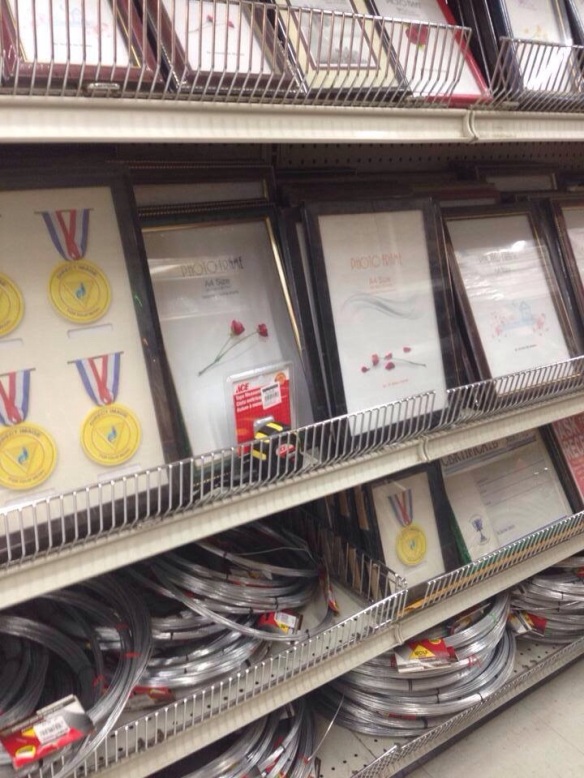
This first tip might seem odd to some, but this is what I’ve learned in my few months of papercutting. When I first got into the hobby, I was too excited to make papercuts that I made a lot of them in all shapes and odd sizes. By the time I realized I wanted to frame some of my best works, I had a difficult time looking for the perfect frame to fit them in. So yes. If you can, and if you can already picture your finished product, buy the frame first. Frame shops are very limited in Manila. And if you want to have a customized frame, it can really be expensive.
2. Make standard-sized papercuts.
If you would still prefer to choose a frame after making your project, make sure that the length and width of your project are the standards. By “standards”, I mean 8×10, 8.5×11, 8.5×13, 5×7, 6×8, and 4×6 dimensions (all in inches). These are the usual frame sizes that you can find in the mall or a bookstore. Others carry 9×12 and A4 sizes, but these are hard to find. And even if you find frames in an unusual size, chances are the color or design may not go well with your papercut.
3. Dont forget to leave an allowance for borders.
I hate to break this to you but while a 6×8″ frame may fit all of your 6×8″ papercut, not every detail will be seen, specifically the sides. Remember that some frames have wide borders which may cover the outer parts of your project, so take note of this before cutting.
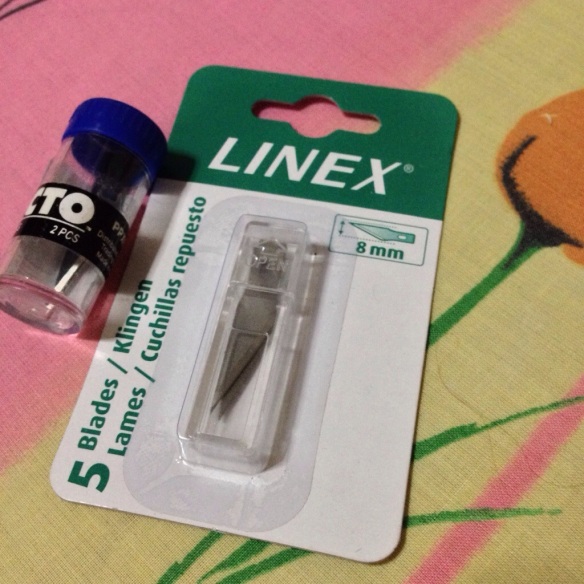
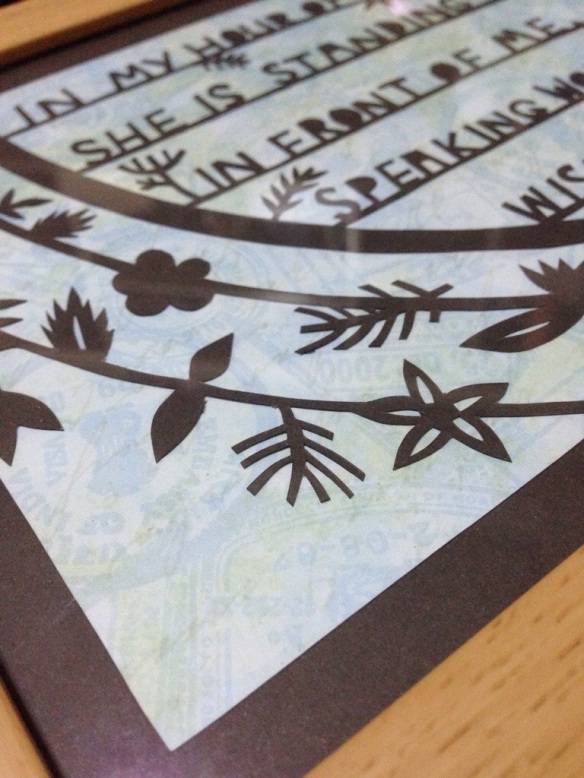
4. Change blades as often as needed.
Dull blades are the worst. They ruin the paper and make your project untidy. So when you feel like your blade is no longer cutting deeply into the paper, it’s time to change. I normally use a minimum of 2 blades per project, depending on the intricacy of the design. So buy spare blades. Lots of them. I hate it when I’d have to put off a project just because l ran out of blades. Trust me, you’d hate it too.
5. Cut diagonally.
Avoid pointing your craft knife vertically. There may be designs which are so intricate that you’d point your knife in a close-to-90-degree angle to make sure you cut right through small holes or lines. Don’t. This is the usual culprit for breaking the tip of your blade. When this happens, your blade is just as good as breaking the entire thing altogether.
6. Take a break.
Whenever I’m making a project, I make sure that I take a break from time to time — usually after an hour of cutting. Check your e-mail, drink a cup of coffee, open your facebook, whatever floats your boat. This will give your fingers a chance to rest for a bit and will prevent you from getting backaches after a project.
7. Cut to the music!
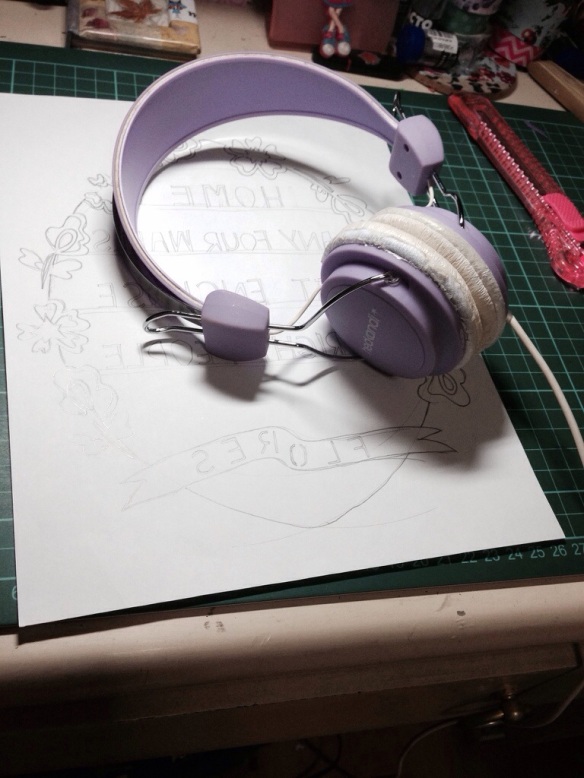
I can’t remember a time not ever listening to music while doing a project. Music – apart from coffee- is my fuel; it just keeps me going. Papercutting goes hand in hand with sound tripping (at least for me) so always be ready with your favorite playlist.
8. Sometimes, a “so-what” attitude helps.
You will, from time-to-time, commit mistakes. You’d accidentally cut a part you shouldn’t, realize you’ve misspelled a word after finishing an entire project, etc. When you do, try to repair the damage if you can. If not, so what? You’re only human. Mistakes, you gotta make them.
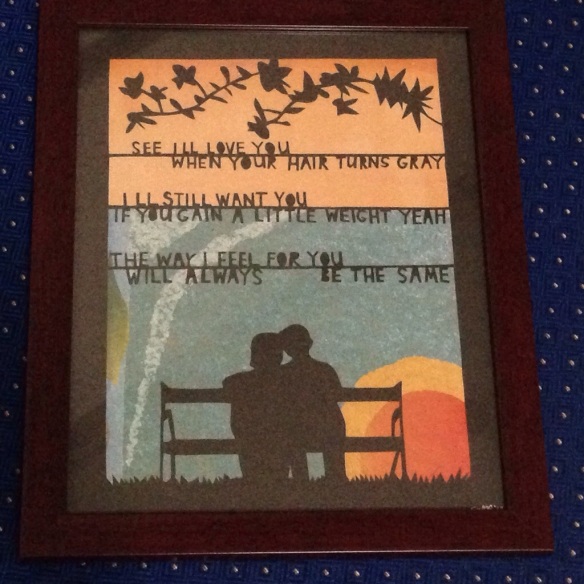
Notice how there’s a space between “always” and “be” at the last line. That’s because I mistakenly put “the” in between, so that it would’ve looked like “will always the be the same”. I just removed the extra “the” to remedy the error. Fortunately, the space is in the middle of the phrase so it kinda looks intentional.
9. Never, ever, pull a loose papercut.
You’ve finished cutting a project and found a part you haven’t cut completely. Whatever you do, do NOT pull! It’s tempting, yes, but doing so might tear the surrounding paper. Stop being lazy and grab your cutting knife so can cut through the loose part completely.
10. Take your time.
Don’t be too hard on yourself when doing a project. Instead, take your time and focus on the end product you want in mind. A project doesn’t have to be done in one sitting. Sometimes it can take days, weeks or months to finish a papercut. Remember, papercutting is a hobby. Hobbies are there to be enjoyed. So just relax and enjoy what you’re doing 🙂

I could think of more than 10 tips, actually, but these should do for now. I hope you find these 10 tips helpful in your next project.
14.663469
121.105019